Monetizing your mobile application is essential for sustainable growth, and flutter in-app purchase functionality provides one of the most effective ways to generate revenue. Whether you’re building a freemium app, offering subscriptions, or selling digital goods, implementing flutter in-app purchase capabilities can transform your app’s business model.
In this comprehensive guide, we’ll walk you through everything you need to know about implementing flutter in-app purchase in your Flutter app, from initial setup to testing and production deployment.
What is Flutter In-App Purchase?
Flutter in-app purchase is a feature that allows users to buy digital content or services directly within your Flutter application. The official in_app_purchase package from Flutter provides a unified API for handling purchases across both iOS (Apple App Store) and Android (Google Play Store) platforms.
Why Use Flutter In-App Purchase?
Before diving into implementation, let’s understand why flutter in-app purchase is crucial:
- Cross-platform compatibility: Single codebase for iOS and Android
- Secure transactions: Leverages native platform payment systems
- Multiple purchase types: Supports consumables, non-consumables, and subscriptions
- Seamless user experience: Native payment flows users already trust
Prerequisites
Before implementing flutter in-app purchase, ensure you have:
- Flutter SDK installed (version 2.0 or higher recommended)
- Active Apple Developer account ($99/year)
- Active Google Play Developer account ($25 one-time fee)
- Basic understanding of Flutter development
- Test devices for iOS and Android
Step 1: Add the In-App Purchase Package
The first step in implementing flutter in-app purchase is adding the official package to your project.
Add the in_app_purchase dependency to your pubspec.yaml file:
dependencies:
  flutter:
    sdk: flutter
  in_app_purchase: ^3.1.13
Run the following command to install:
flutter pub get
Step 2: Configure iOS for Flutter In-App Purchase
To enable flutter in-app purchase on iOS, you need to configure your Apple Developer account and Xcode project.
iOS Configuration Steps:
- Sign in to App Store Connect
- Navigate to your app’s page
- Go to “Features” > “In-App Purchases”
- Create In-App Purchase Products
- Click the “+” button to add a new product
- Choose product type (Consumable, Non-Consumable, Auto-Renewable Subscription)
- Enter product ID (e.g.,
com.yourapp.premium_feature) - Set pricing and availability
- Enable In-App Purchase Capability in Xcode
- Open your project’s
ios/Runner.xcworkspace - Select your target > “Signing & Capabilities”
- Click “+” and add “In-App Purchase”
- Open your project’s
- Create a sandbox tester account in App Store Connect for testing
Step 3: Configure Android for Flutter In-App Purchase
For Android flutter in-app purchase implementation, configure Google Play Console.
Android Configuration Steps:
- Set up Google Play Console
- Create or select your app
- Navigate to “Monetize” > “Products” > “In-app products”
- Create In-App Products
- Click “Create product”
- Enter Product ID (must match iOS for consistency)
- Set title, description, and price
- Activate the product
- Update AndroidManifest.xml
Add billing permission to android/app/src/main/AndroidManifest.xml:
<uses-permission android:name="com.android.vending.BILLING" />
- Create a license tester account in Google Play Console
Step 4: Implement Flutter In-App Purchase Code
Now let’s write the actual flutter in-app purchase implementation code.
Initialize the In-App Purchase Stream
import 'package:in_app_purchase/in_app_purchase.dart';
import 'dart:async';

class InAppPurchaseService {
  final InAppPurchase _inAppPurchase = InAppPurchase.instance;
  late StreamSubscription<List<PurchaseDetails>> _subscription;

  // Define your product IDs
  final String productId = 'com.yourapp.premium_feature';

  Future<void> initialize() async {
    // Check if in-app purchase is available
    final bool available = await _inAppPurchase.isAvailable();

    if (!available) {
      // Handle unavailability
      print('In-app purchase not available');
      return;
    }

    // Listen to purchase updates
    final Stream<List<PurchaseDetails>> purchaseStream =
        _inAppPurchase.purchaseStream;
    _subscription = purchaseStream.listen(
      _onPurchaseUpdate,
      onDone: () => _subscription.cancel(),
      onError: (error) => print('Purchase error: $error'),
    );
  }

  void _onPurchaseUpdate(List<PurchaseDetails> purchaseDetailsList) {
    purchaseDetailsList.forEach((PurchaseDetails purchaseDetails) async {
      if (purchaseDetails.status == PurchaseStatus.pending) {
        // Handle pending purchase
        _showPendingUI();
      } else if (purchaseDetails.status == PurchaseStatus.error) {
        // Handle error
        _handleError(purchaseDetails.error!);
      } else if (purchaseDetails.status == PurchaseStatus.purchased ||
                 purchaseDetails.status == PurchaseStatus.restored) {
        // Verify and deliver purchase
        bool valid = await _verifyPurchase(purchaseDetails);
        if (valid) {
          _deliverProduct(purchaseDetails);
        }
      }

      // Always complete the purchase
      if (purchaseDetails.pendingCompletePurchase) {
        await _inAppPurchase.completePurchase(purchaseDetails);
      }
    });
  }

  void _showPendingUI() {
    // Show loading indicator
  }

  void _handleError(IAPError error) {
    // Handle different error codes
    print('Error: ${error.code} - ${error.message}');
  }

  Future<bool> _verifyPurchase(PurchaseDetails purchaseDetails) async {
    // Implement server-side verification for security
    // For now, return true for demo purposes
    return true;
  }

  void _deliverProduct(PurchaseDetails purchaseDetails) {
    // Grant access to purchased feature
    print('Product delivered: ${purchaseDetails.productID}');
  }

  void dispose() {
    _subscription.cancel();
  }
}
Query Available Products
To display available flutter in-app purchase products to users:
Future<List<ProductDetails>> getProducts() async {
  final Set<String> productIds = {productId};

  final ProductDetailsResponse response =
      await _inAppPurchase.queryProductDetails(productIds);

  if (response.notFoundIDs.isNotEmpty) {
    print('Products not found: ${response.notFoundIDs}');
  }

  return response.productDetails;
}
Initiate a Purchase
To start a flutter in-app purchase transaction:
Future<void> buyProduct(ProductDetails productDetails) async {
  final PurchaseParam purchaseParam =
      PurchaseParam(productDetails: productDetails);

  await _inAppPurchase.buyNonConsumable(purchaseParam: purchaseParam);
  // For consumables: _inAppPurchase.buyConsumable()
}
Restore Purchases
Implement flutter in-app purchase restoration for users who reinstall your app:
Future<void> restorePurchases() async {
  await _inAppPurchase.restorePurchases();
}
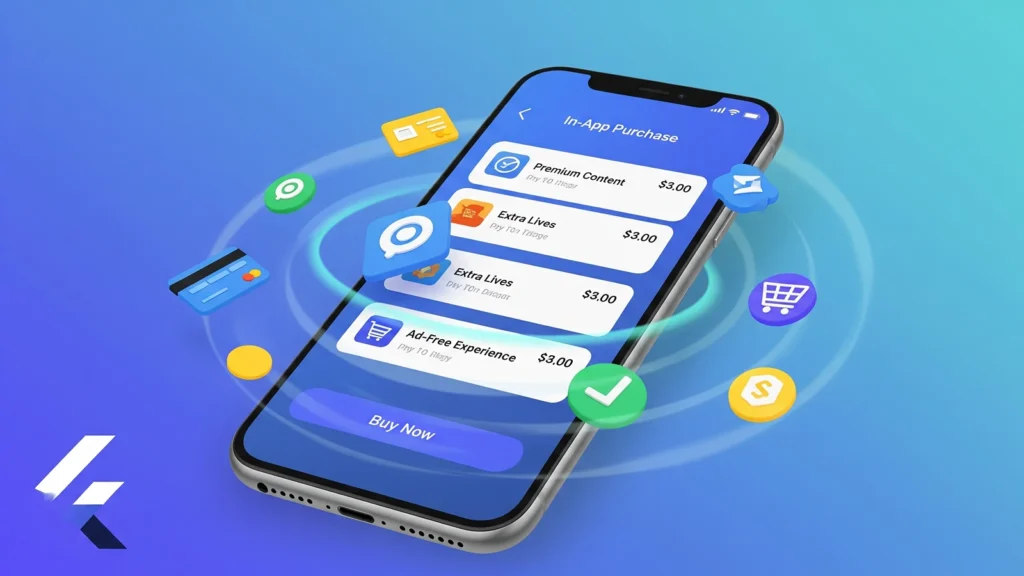
Step 5: Create a User Interface
Build a UI to display flutter in-app purchase options:
class PurchaseScreen extends StatefulWidget {
  @override
  _PurchaseScreenState createState() => _PurchaseScreenState();
}

class _PurchaseScreenState extends State<PurchaseScreen> {
  final InAppPurchaseService _purchaseService = InAppPurchaseService();
  List<ProductDetails> _products = [];
  bool _loading = true;

  @override
  void initState() {
    super.initState();
    _initializePurchases();
  }

  Future<void> _initializePurchases() async {
    await _purchaseService.initialize();
    _products = await _purchaseService.getProducts();
    setState(() {
      _loading = false;
    });
  }

  @override
  Widget build(BuildContext context) {
    if (_loading) {
      return Center(child: CircularProgressIndicator());
    }

    return ListView.builder(
      itemCount: _products.length,
      itemBuilder: (context, index) {
        final product = _products[index];
        return ListTile(
          title: Text(product.title),
          subtitle: Text(product.description),
          trailing: Text(product.price),
          onTap: () => _purchaseService.buyProduct(product),
        );
      },
    );
  }

  @override
  void dispose() {
    _purchaseService.dispose();
    super.dispose();
  }
}
Step 6: Test Flutter In-App Purchase
Testing is crucial for flutter in-app purchase implementation.
iOS Testing:
- Sign out of your Apple ID in Settings
- Run your app through Xcode
- Use your sandbox tester account when prompted
- Test purchase flows without actual charges
Android Testing:
- Add your test account to license testers in Google Play Console
- Install your app via internal testing track
- Test purchases using your registered test account
- Verify test purchases complete successfully
Step 7: Handle Subscriptions
For subscription-based flutter in-app purchase:
Future<void> buySubscription(ProductDetails productDetails) async {
  final PurchaseParam purchaseParam =
      PurchaseParam(productDetails: productDetails);

  await _inAppPurchase.buyNonConsumable(purchaseParam: purchaseParam);
}

// Check subscription status
Future<bool> isSubscriptionActive() async {
  // Query past purchases
  await _inAppPurchase.restorePurchases();
  // Check for active subscription in purchase history
  // Implement your subscription validation logic
  return false;
}
Best Practices for Flutter In-App Purchase
Implementing flutter in-app purchase successfully requires following these best practices:
- Server-Side Verification: Always verify purchases on your backend to prevent fraud
- Error Handling: Implement comprehensive error handling for network issues and declined payments
- User Feedback: Provide clear feedback during the purchase process
- Receipt Storage: Store purchase receipts securely for validation
- Graceful Degradation: Ensure your app functions without purchases if the feature is unavailable
- Privacy: Handle user data according to App Store and Play Store guidelines
- Testing: Test all purchase flows thoroughly before release
Common Flutter In-App Purchase Issues
Issue 1: Products Not Found
Solution: Ensure product IDs match exactly between your code and store console
Issue 2: Sandbox Testing Not Working
Solution: Sign out of production Apple ID and use sandbox account
Issue 3: Purchase Not Completing
Solution: Always call completePurchase() after handling the purchase
Issue 4: Restored Purchases Not Showing
Solution: Implement proper purchase history querying and storage
Security Considerations
When implementing flutter in-app purchase, security is paramount:
- Implement server-side receipt verification
- Use HTTPS for all backend communications
- Store sensitive data encrypted
- Implement transaction ID tracking
- Monitor for fraudulent activities
- Keep the in_app_purchase package updated
Conclusion
Implementing flutter in-app purchase in your Flutter app opens up powerful monetization opportunities. By following this guide, you’ve learned how to set up flutter in-app purchase on both iOS and Android, handle different purchase types, test your implementation, and follow security best practices.
The flutter in-app purchase system provides a robust, cross-platform solution that makes it easier than ever to monetize your mobile applications. Start small, test thoroughly, and gradually expand your flutter in-app purchase offerings as you learn what resonates with your users.
Ready to monetize your Flutter app? Start implementing flutter in-app purchase today and transform your app into a revenue-generating platform!
