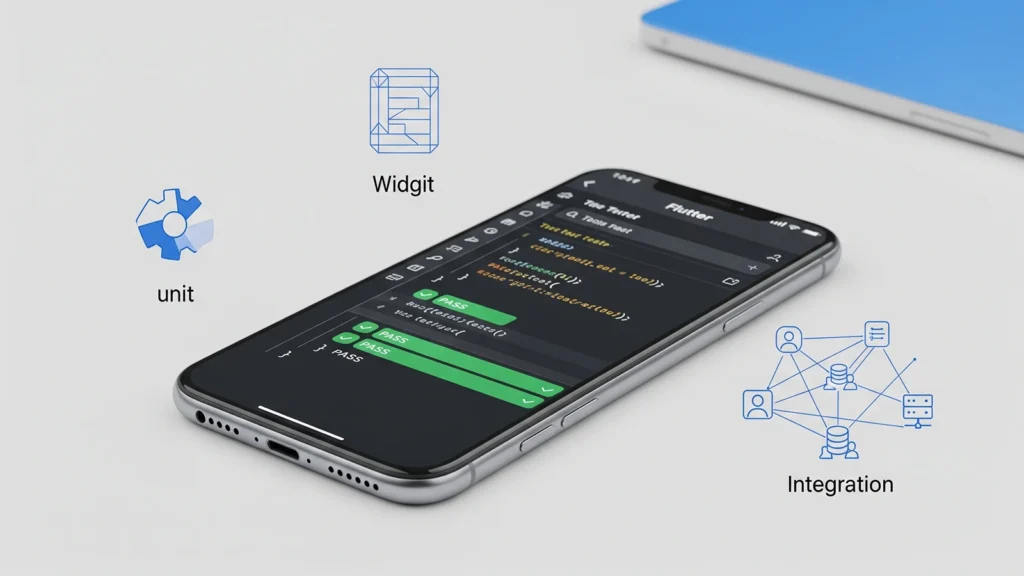
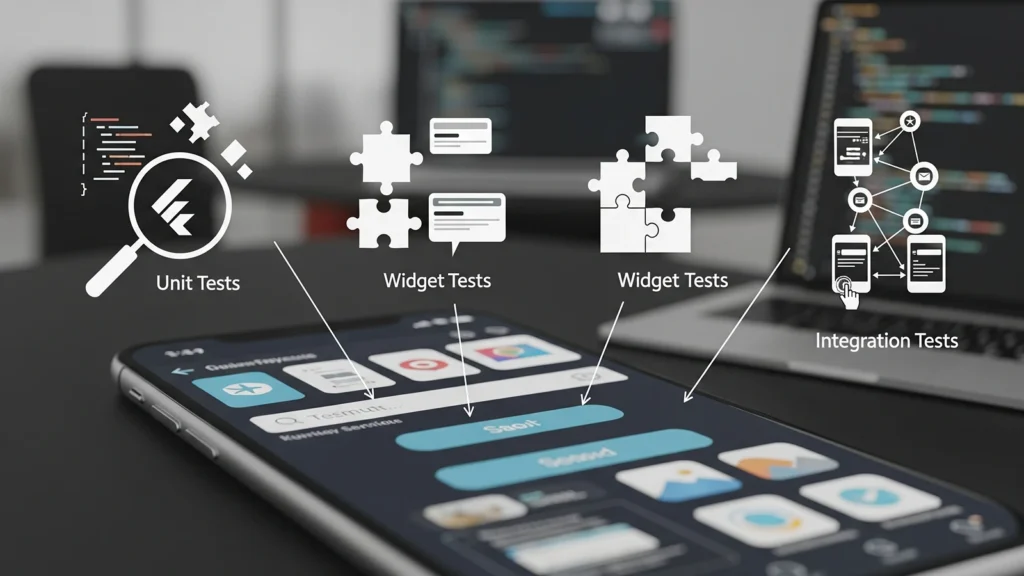
Flutter Testing is a critical part of developing any high-quality application, and Flutter provides a robust and layered framework to ensure your code is reliable, stable, and maintainable. In Flutter, the testing pyramid is typically categorized into three main types: Unit Tests, Widget Tests, and Integration Tests. Understanding and effectively implementing all three is the key to shipping high-quality apps.
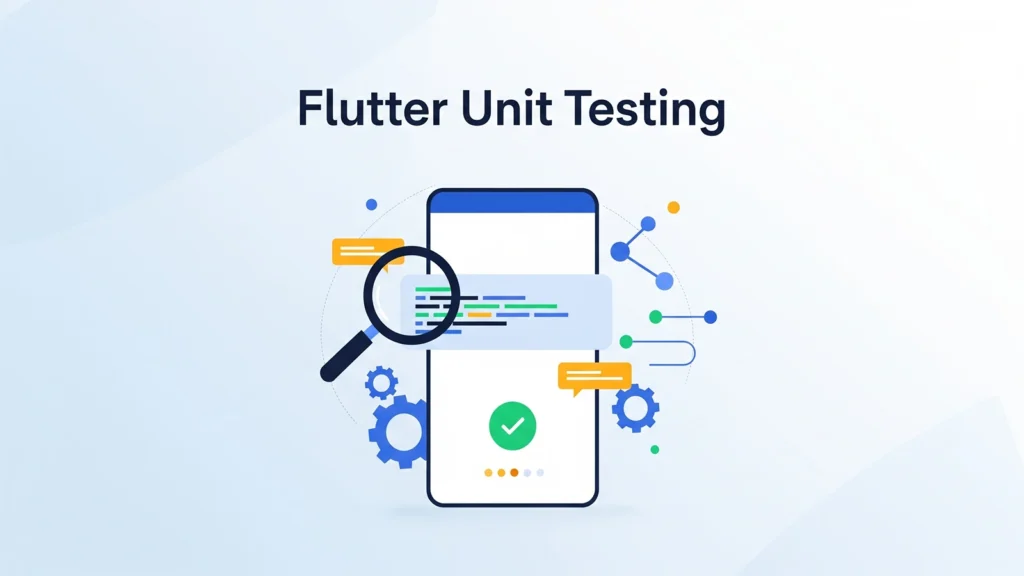
1. Unit Testing: The Foundation of Reliability
Unit Tests are the smallest, fastest, and most numerous type of test. They are designed to test a single “unit” of code, typically a function, method, or class isolation, to verify that the business logic works correctly.
Focus
- Business logic
- Functions, methods, and individual classes (e.g., utility classes, ViewModels, Controllers).
- Non-UI code.
Key Characteristics
- Speed: Extremely fast, as they don’t require the Flutter rendering engine.
- Isolation: Dependencies (like network calls or databases) are typically mocked or stubbed to ensure the test only focuses on the unit itself.
- Packages: Uses the standard Dart test package.
How to Write a Unit Test
A unit test follows the Arrange, Act, Assert pattern:
- Arrange: Set up the test conditions, create objects, and initialize data.
- Act: Execute the function or method being tested.
- Assert: Verify that the result matches the expected outcome using the expect() function.
Example Setup:
| class Calculator { int add(int a, int b) => a + b;}// test/calculator_test.dartimport ‘package: test/test.dart’;import ‘package:my_app/calculator.dart’;void main() { group(‘Calculator’, () { // Use group to combine related tests test(‘should add two numbers correctly’, () { // Arrange final calculator = Calculator(); const a = 5; const b = 3; // Act final result = calculator.add(a, b); // Assert expect(result, 8); }); });} |
Running Unit Tests:
flutter test test/calculator_test.dart
# or to run all unit tests:
flutter test
2. Widget Testing: Verifying the UI Component
Widget Tests (also known as component tests) sit one level above unit tests. They verify that a single widget, or a small group of widgets, looks and behaves as expected. Unlike unit tests, they use the Flutter rendering engine to check the widget’s lifecycle, layout, and interaction response, but they don’t require a real device or emulator.
Focus
- Individual Widgets or screens in isolation.
- Checking the widget’s appearance, layout, and response to user input.
Key Concepts
- WidgetTester: The main tool used to build, interact with, and check the widget tree.
- Finder Classes: Used to locate widgets in the tree (e.g., find.text(), find.byKey(), find.byType()).
- pumpWidget(): Used to build and render the widget under test.
- Pump () / pumpAndSettle(): Used to trigger a rebuild of the widget tree after a state change or to wait for animations to complete.
How to Write a Widget Test
Example Scenario (Testing a Counter Widget):
| Import ‘package: flutter/material.dart’;import ‘package:flutter_test/flutter_test.dart’;// Assume your CounterApp is in lib/main.dartvoid main() { testWidgets(‘Counter increments when the button is pressed’, (WidgetTester tester) async { // 1. Arrange: Build the widget, await the tester.pumpWidget(const MyApp()); // MyApp contains the Counter // 2. Assert Initial State expect(find.text(‘0’), findsOneWidget); // Find text ‘0’ expect(find.text(‘1’), findsNothing); // Text ‘1’ should not be present // 3. Act: Simulate a tap on the button, await tester.tap(find.byIcon(Icons.add)); // The widget is rebuilt in response to the tap, but the test runner needs to be told to “pump” a new frame. await tester.pump(); // 4. Assert Updated State expect(find.text(‘0’), findsNothing); // Text ‘0’ is now gone expect(find.text(‘1’), findsOneWidget); // Find text ‘1’ });} |
Widget Testing Best Practices:
- Use Keys: Use ValueKey or Key for important, interactive, or text-changing widgets to make finding them robust, especially for localization, instead of relying on find.text().
- Wrap the Widget: Always wrap the widget under test in necessary parent widgets like MaterialApp and Scaffold if the widget needs them for context (e.g., theming, navigation).
Running Widget Tests:
flutter test test/counter_widget_test.dart
3. Integration Testing: The End-to-End User Journey
Integration Tests are at the top of the testing pyramid. They verify the application’s overall functionality by testing multiple widgets, entire screens, and external services working together, often simulating a complete user flow or journey. They run on a real device or emulator.
Focus
- The entire application or large, multi-screen sections.
- Validating the flow between screens, API calls, and persistent data storage.
- User-driven, end-to-end scenarios (e.g., Login → Dashboard → Settings change).
Key Characteristics
- Real Environment: Runs on an actual device or emulator.
- Slower: Slower than unit and widget tests, but essential for catching “integration” issues.
- Package: Uses the official integration_test package (which replaces the older flutter_driver).
How to Write an Integration Test
Integration tests use the same WidgetTester and Finder APIs as widget tests, but they are executed in a dedicated environment.
Step 1: Add Dependency
Add integration_test to your dev_dependencies in pubspec.yaml:
YAML
dev_dependencies:
flutter_test:
sdk: flutter
integration_test:
sdk: flutter
Step 2: Create the Test File
Create a dedicated folder, typically integration_test/, and place your test file inside it (e.g., integration_test/app_test.dart).
| import ‘package:flutter_test/flutter_test.dart’;import ‘package:integration_test/integration_test.dart’;import ‘package:my_app/main.dart’ as app; void main() { // 1. Initialize the binding final binding = IntegrationTestWidgetsFlutterBinding.ensureInitialized(); group(‘Full App Test’, () { testWidgets(‘Verify app login and navigation’, (WidgetTester tester) async { // Launch the app app.main(); await tester.pumpAndSettle(); // Wait for all animations to finish // 2. Act: Find login fields and enter text (assuming you have Keys) await tester.enterText(find.byKey(const ValueKey(‘usernameField’)), ‘testuser’); await tester.enterText(find.byKey(const ValueKey(‘passwordField’)), ‘password’); // 3. Act: Tap the login button await tester.tap(find.byKey(const ValueKey(‘loginButton’))); await tester.pumpAndSettle(); // Wait for navigation to complete // 4. Assert: Verify navigation to the dashboard screen expect(find.text(‘Welcome to the Dashboard!’), findsOneWidget); }); });} |
Step 3: Running Integration Tests
You run integration tests using the Flutter test command, targeting the test file.
# Run on an attached device or emulator,
flutter test integration_test/app_test.dart
The Testing Pyramid: A Summary
The goal isn’t to have 100% of one type of test, but a healthy mix that follows the testing pyramid principle:
| Test Type | Scope | Environment | Speed | Quantity |
| Unit Test | Single function/class (Business Logic) | Dart VM (No Flutter) | Fastest | Most |
| Widget Test | Single Widget/Component (UI) | Flutter rendering engine (In-memory) | Medium | Moderate |
| Integration Test | Entire App Flow (End-to-End) | Real Device/Emulator | Slowest | Fewest |
Conclusion
A well-tested Flutter application is built upon a solid foundation of testing practices. By leveraging Unit Tests for your logic, Widget Tests for your UI components, and Integration Tests for your complete user journeys, you can develop faster, debug less, and deliver a far more stable product. Embrace testing as an integral part of your development process, and your future self and users will thank you!
Read More: Installing Android Studio on Linux