I will show you three different methods to install Android Studio on Linux. Each method has its own advantages. people wan to install Android Studio on Linux because of better performance for mobile app development other software development and it really worth installing.
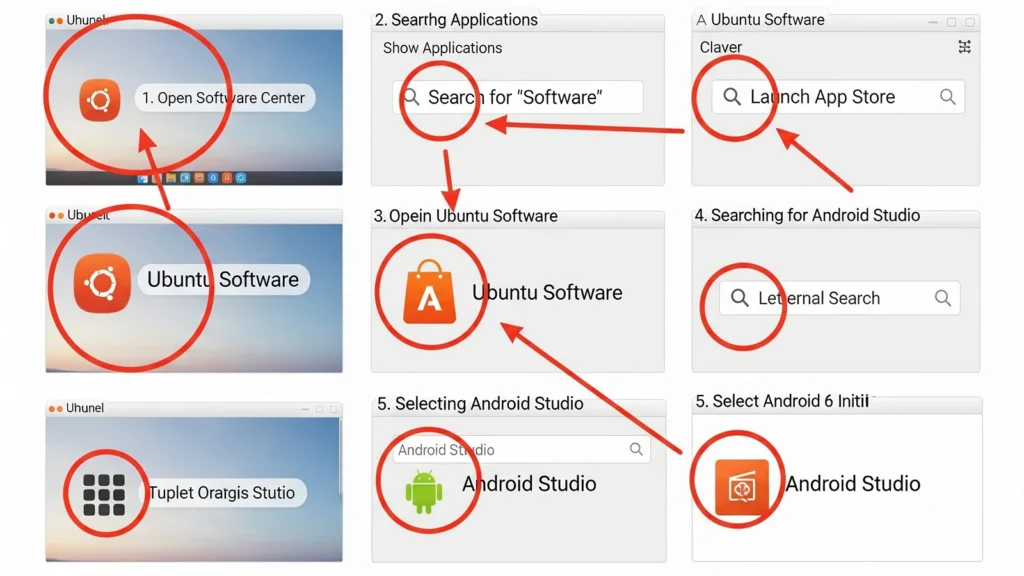
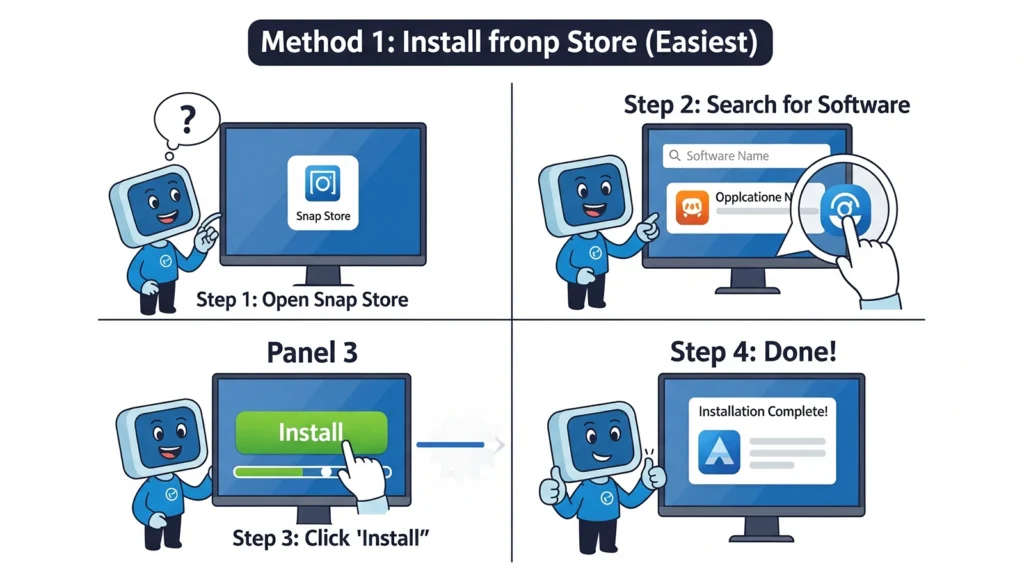
Method 1: Install from Snap Store (Easiest)
Using Snap Store GUI
- Open Ubuntu Software (or your distro’s app store)
- Click on the “Show Applications” grid icon in the bottom left
- Search for “Software” or “Ubuntu Software”
- Search for Android Studio
- Type “Android Studio” in the search bar
- Click on the Android Studio result
- Install
- Click the “Install” button
- Enter your password when prompted
- Wait for the installation to complete
Using Snap Command Line
| # Install snapd if not already installedsudo apt updatesudo apt install snapd |
Then,
| # Install Android Studiosudo snap install android-studio –classic |
Then,
| # Launch Android Studioandroid-studio |
The –classic flag is required because Android Studio needs access to system resources.
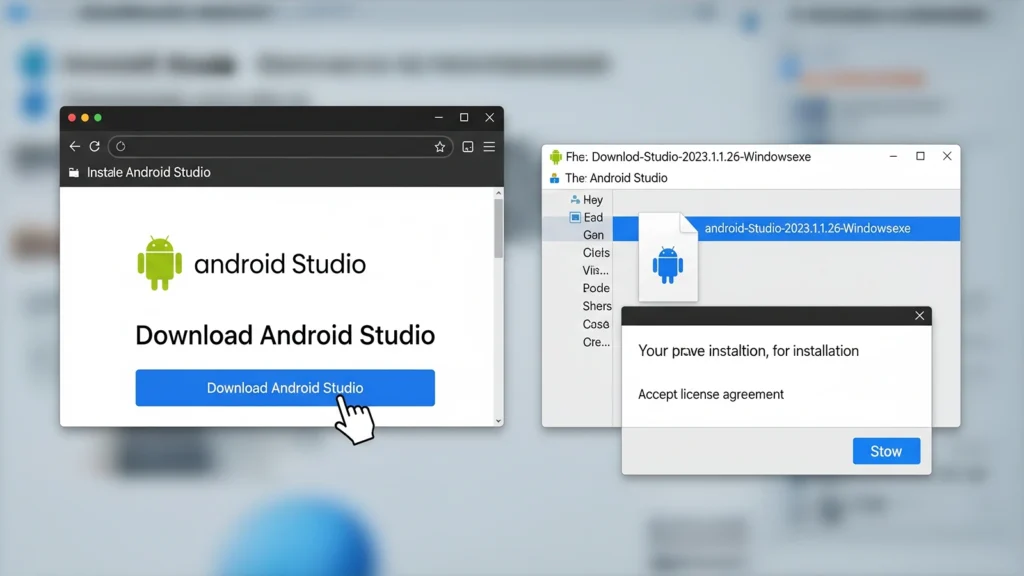
Method 2: Install from the Official Android Studio Website (Recommended)
This method gives you the latest version directly from Google.
Step 1: Download Android Studio
Visit the official website:
| # Open in browserhttps://developer.android.com/studio |
Or download using the command line:
| # Create a downloads directorycd ~/Downloads |
Then,
| # Download Android Studio (replace version if needed)Wget https://redirector.gvt1.com/edgedl/android/studio/ide-zips/2024.1.1.12/android-studio-2024.1.1.12-linux.tar.gz |
Step 2: Extract the Archive
| # Extract to /opt directory (recommended location)sudo tar -xzf android-studio-*-linux.tar.gz -C /opt/ # Or extract to your home directorytar -xzf android-studio-*-linux.tar.gz -C ~/ |
Step 3: Install Required Dependencies
| # For Ubuntu/Debiansudo apt updatesudo apt install libc6:i386 libncurses5:i386 libstdc++6:i386 lib32z1 libbz2-1.0:i386 # For Fedora/RHELsudo dnf install zlib.i686 ncurses-libs.i686 bzip2-libs.i686 |
Step 4: Launch Android Studio
| # If installed in /optcd /opt/android-studio/bin./studio.sh # If installed in the home directorycd ~/android-studio/bin./studio.sh |
Step 5: Create Desktop Entry (Optional but Recommended)
Create a launcher for easy access:
| # Create desktop entry filesudo nano /usr/share/applications/android-studio.desktop |
Add the following content (adjust paths if needed):
| [Desktop Entry]Version=1.0Type=ApplicationName=Android StudioIcon=/opt/android-studio/bin/studio.pngExec=”/opt/android-studio/bin/studio.sh” %fComment=The Official IDE for AndroidCategories=Development;IDE;Terminal=falseStartupWMClass=jetbrains-studio |
Save and exit (Ctrl+X, then Y, then Enter). Make it executable: sudo chmod +x /usr/share/applications/android-studio.desktop
Method 3: Install Using Flatpak
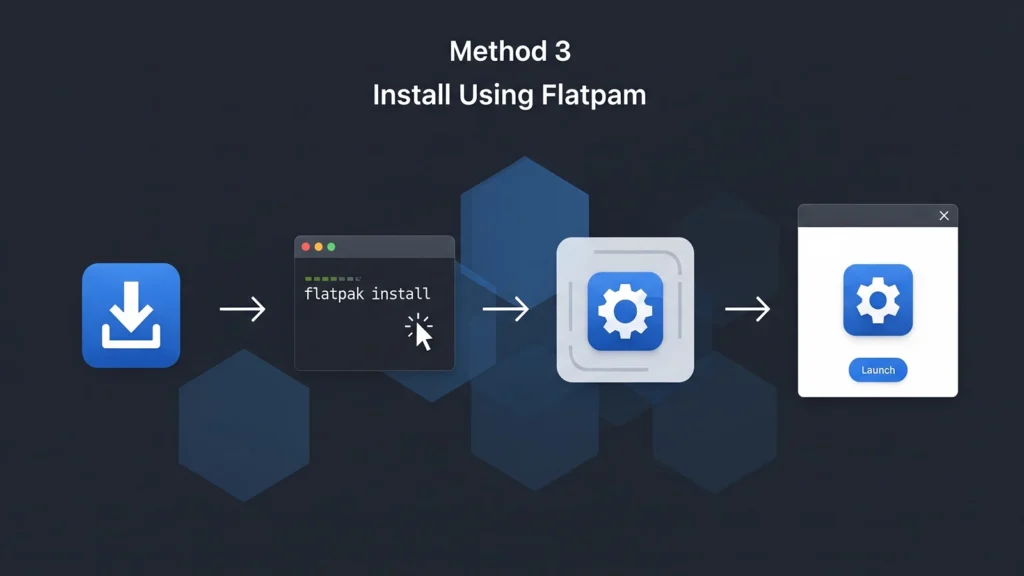
Step 1: Install Flatpak
| # For Ubuntu/Debiansudo apt install flatpak # For Fedorasudo dnf install flatpak # Add Flathub repositoryflatpak remote-add –if-not-exists flathub https://flathub.org/repo/flathub.flatpakrepo |
Step 2: Install Android Studio
| # Install from Flathubflatpak install flathub com.google.AndroidStudio # Launch Android Studioflatpak run com.google.AndroidStudio |
Post-Installation Setup
After installing Android Studio using any method, follow these steps:
1. First Launch Configuration
- Start Android Studio using your preferred method
- Import Settings: Choose “Do not import settings” (for first-time installation)
- Data Sharing: Choose whether to share usage statistics
- Setup Wizard: The wizard will guide you through:
- Install type (Standard recommended)
- UI theme selection
- SDK Components download
- Android Virtual Device (AVD) setup
2. Install Android SDK
The setup wizard will download:
- Android SDK Platform-Tools
- Android SDK Build-Tools
- Android Emulator
- Latest Android platform
This may take 10-30 minutes, depending on your internet speed.
3: Configure Android SDK Path
| # Add to ~/.bashrc or ~/.zshrcexport ANDROID_HOME=$HOME/Android/Sdkexport PATH=$PATH:$ANDROID_HOME/emulatorexport PATH=$PATH:$ANDROID_HOME/platform-toolsexport PATH=$PATH:$ANDROID_HOME/toolsexport PATH=$PATH:$ANDROID_HOME/tools/bin # Reload shell configurationsource ~/.bashrc |
4: Enable KVM for Better Emulator Performance (Optional)
| # Check if KVM is supportedegrep -c ‘(vmx|svm)’ /proc/cpuinfo# If output is > 0, KVM is supported # Install KVMsudo apt install qemu-kvm libvirt-daemon-system libvirt-clients bridge-utils # Add your user to the kvm groupsudo adduser $USER kvm # Reboot for changes to take effectsudo reboot |
Comparison of Methods
| Method | Pros | Cons |
| Snap | Easiest, auto-updates | May have permission issues, slower startup |
| Official Tar | Latest version, complete control | Manual updates required |
| Flatpak | Sandboxed, good for security | Requires Flatpak setup |
Troubleshooting
Issue: “Unable to run mksdcard SDK tool”
| sudo apt install lib32z1 lib32ncurses6 lib32stdc++6 |
Issue: Android Studio won’t start
| # Check Java installationjava -version # Install OpenJDK if neededsudo apt install openjdk-17-jdk |
Issue: Emulator not working
| # Enable hardware virtualization in BIOS# Then install KVM (see step 4 above) |
Issue: Permission denied errors
| # Fix Android SDK permissionssudo chown -R $USER:$USER $ANDROID_HOMEchmod -R 755 $ANDROID_HOME |
Updating Android Studio
Snap Installation:
| sudo snap refresh android-studio |
Manual Installation:
- Check for updates within Android Studio: Help → Check for Updates
- Or download the latest version and repeat the installation steps
Flatpak Installation:
| flatpak update com.google.AndroidStudio |
Uninstalling Android Studio
Snap:
| sudo snap remove android-studio |
Manual:
| # Remove installation directorysudo rm -rf /opt/android-studio # Remove configuration and SDKrm -rf ~/.config/Google/AndroidStudio*rm -rf ~/Androidrm -rf ~/.android # Remove desktop entrysudo rm /usr/share/applications/android-studio.desktop |
Flatpak:
| flatpak uninstall com.google.AndroidStudio |
That’s it! You now have Android Studio installed on your Linux system. I recommend the official tar method for developers who want complete control, or Snap for users who prefer convenience and automatic updates.
Conclusion
Installing Android Studio on Linux can be done in several ways, depending on your preference. If you want convenience and auto-updates, Snap is the easiest choice. If you want the latest version with full control, the official tarball installation is the best option. For those who prefer a sandboxed, secure installation, Flatpak is a good alternative.
No matter which method you choose, remember to configure the SDK paths and enable KVM for better emulator performance.
Frequently Asked Questions (FAQ)
Q1: Which installation method is best for beginners?
Snap installation is the easiest for beginners.
Q2: Can I install Android Studio on any Linux distro?
Yes. Snap and Flatpak work on most distributions. The tarball method works universally.
Q3: Do I need Java to run Android Studio?
Yes. Android Studio requires JDK (preferably OpenJDK 17).
Q4: My emulator is very slow, how can I fix it?
Enable hardware virtualization (KVM) and allocate more RAM/CPU in AVD Manager.
Q5: How much disk space do I need?
Android Studio requires about 4–6 GB for installation and SDK tools. Emulator images can add several GB more.
Q6: Can I install multiple versions of Android Studio?
Yes. With tarball or Flatpak, you can install multiple versions side by side.